Caution: contains major spoilers for anyone who hasn't seen Chapter 1.
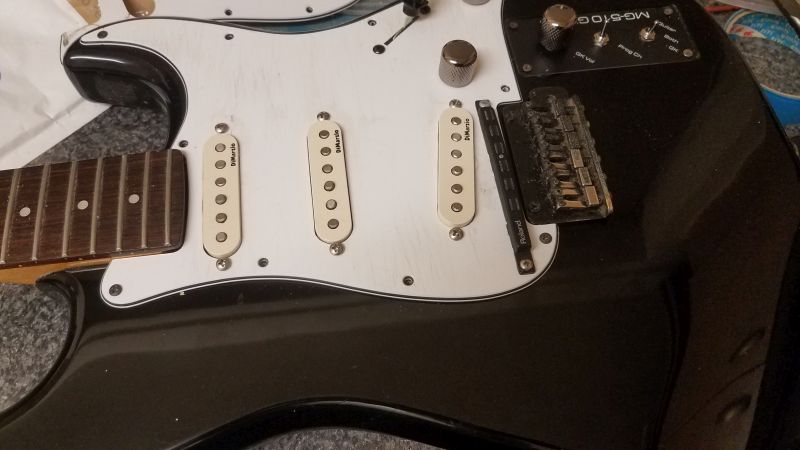
With a bit of careful drilling and filing and a tiny bit of routing the Roland GK pickup is bolted in place and the MG510 is starting to look pretty mean.
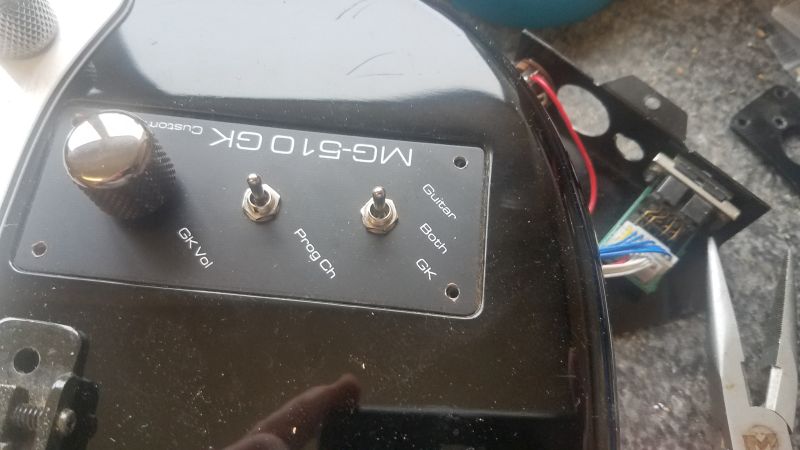
Now it's electronics time. Installing the GK control board and wiring all the controls can be a tricky operation with much potential for stripping wires too short or pulling them out of the multi-pin headers. Proceed with caution.
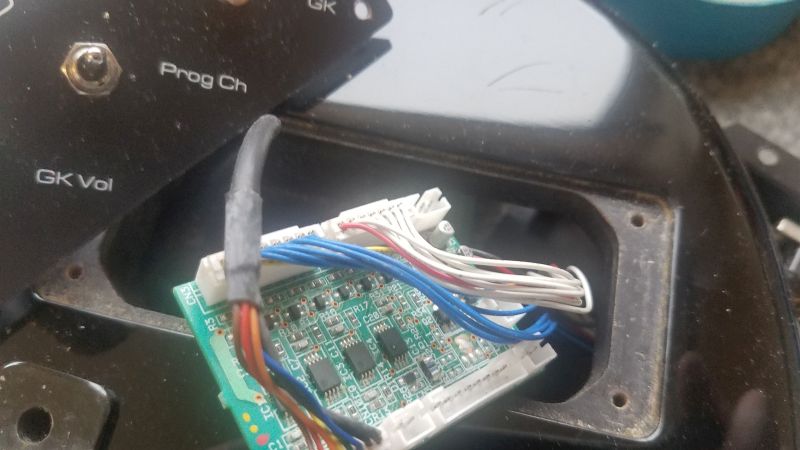
The great thing about the Casio guitar is the amount of space they routed out for all the MIDI converter circuitry leaving plenty of room for the tiny GK board. Fitting this into a standard Stratocaster is next to impossible without routing chunks of wood away but this is an absolute breeze.
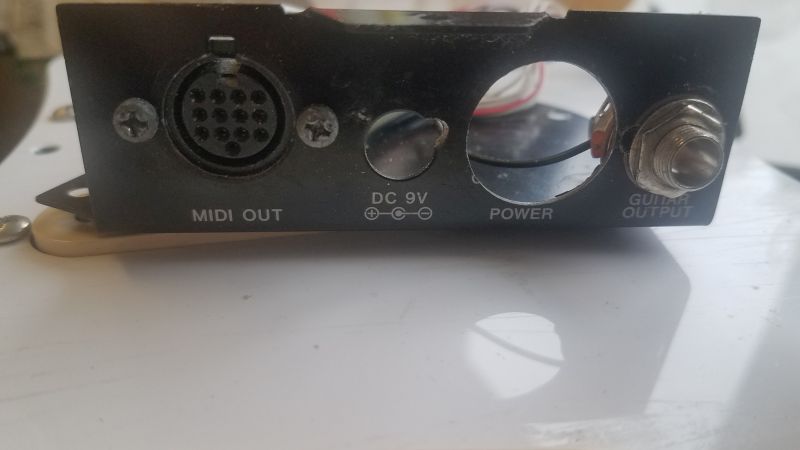
To make life even easier, the GK output jack fits absolutely perfectly into the hole in the jack plate where the MIDI output used to be. Unfortunately there are some redundant openings that may or may not get a blanking plate some time in the future.
In this operation it is absolutely vital to refer to the GK-Kit installation guide and its Japlish advice on how to wire the "buttery" in an active guitar.
GK-KIT-GT3_OM.pdf (683.34 kb)
To be continued ...